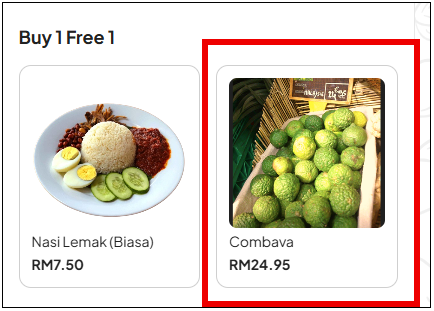
Categories
How to add image to POS
To
upload image at zeoniq: -
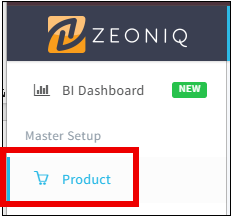
1-Open Zeoniq, and then go to [Dashboard] at the left side
bar.
-Look at [Product], which is the red box below shown.
Click on it.
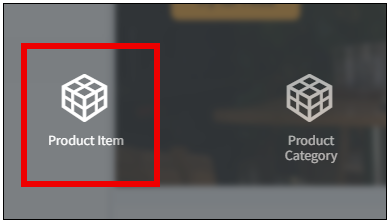
2-Select [Product Item] to enter.
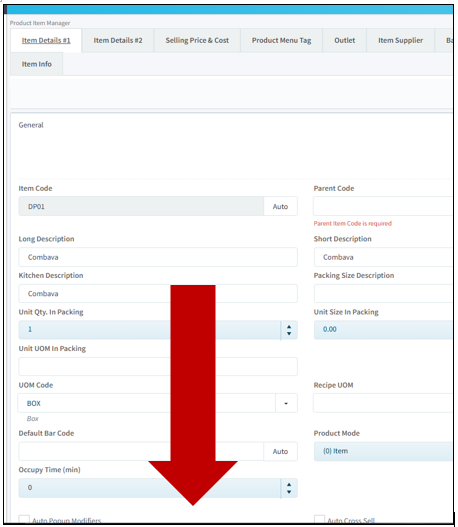
3-Select the item that need to add image,
From the example, click in the item code [DP01],
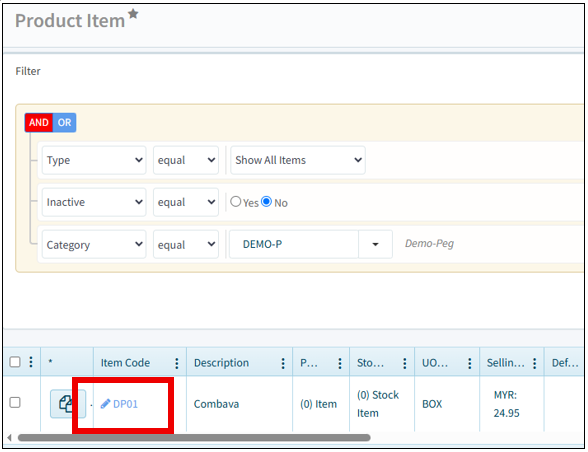
then scroll all the way down to bottom and look for [Product Image].
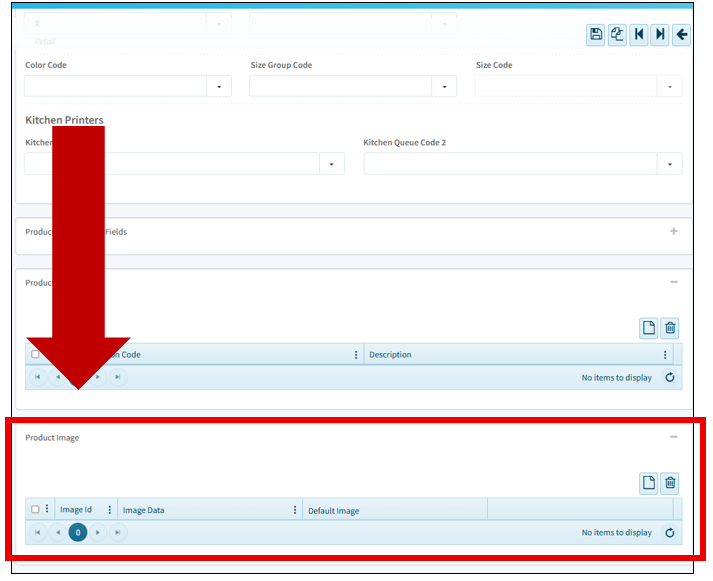
4-Click the [Paper] icon for to open. This is how it looks after open.
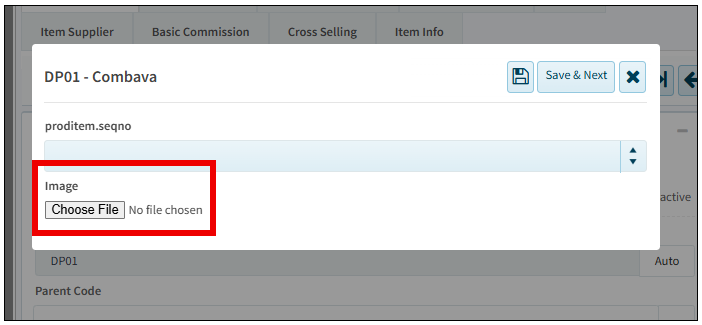
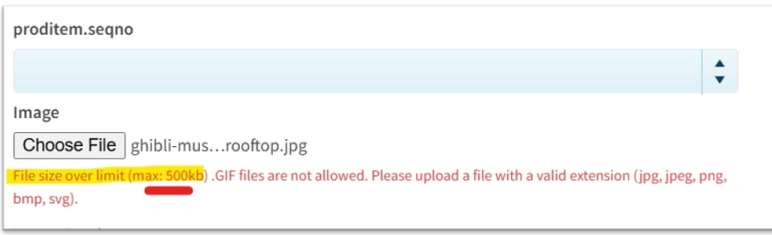
5-Then, you may click [Choose File] to select the image that is needed.
** The prefer picture image file max is 500kb, but prefer to resize image size to around 80-50kb, reduce the loading image waiting. Picture file too big means need more time to load image.
6-Click [Open] to continue.
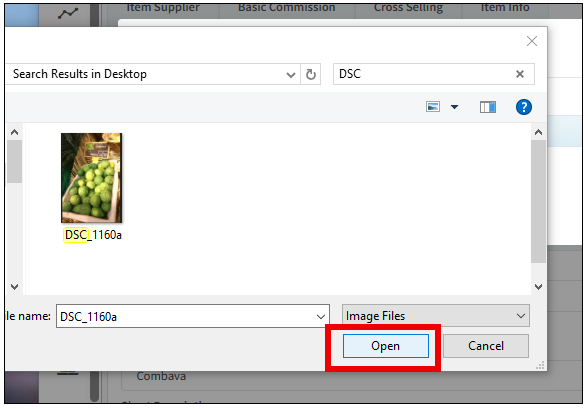
Or another way, may also drag the image from the file to the [Choose File] button.
7-Then it will have image preview, then click [Save] to continue.
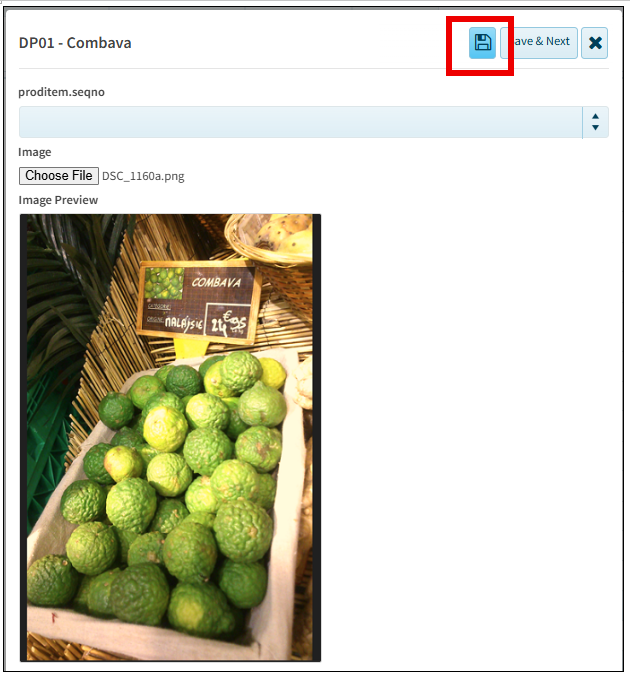
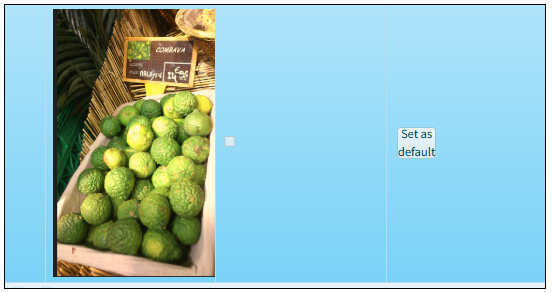
**Sometimes it will appear [Save as default], click it to avoid blank image at the e-order or POS.
8-Then scroll until top, click [Save] again at the top right corner.
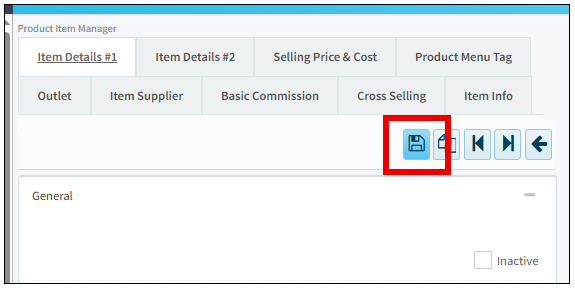
9-After that, for POS Only User, please synchronize and
refresh at the menu page. It should be appeared in the POS.
10-For using POS and E-order User,
Go to [Outlet], then choose [Order Platform].
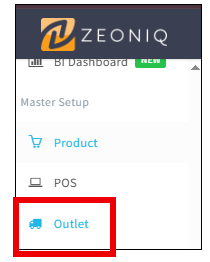
11-Click on [Order Platform].
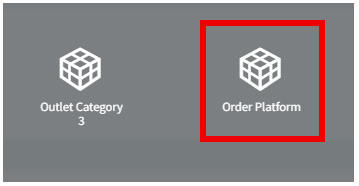
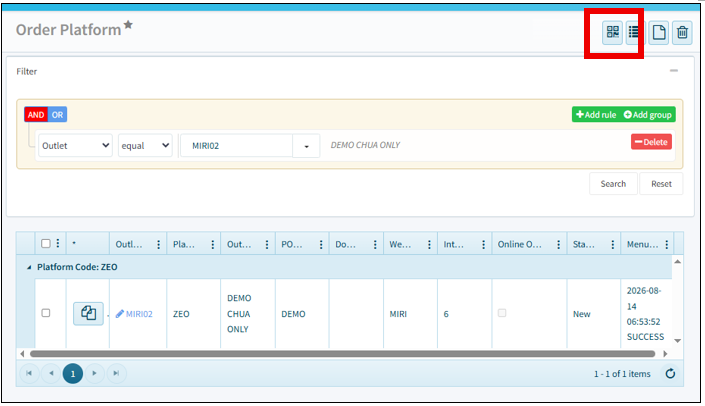
12-This is [Order Platform] page.
Click on the top right corner, the [QR] icon.
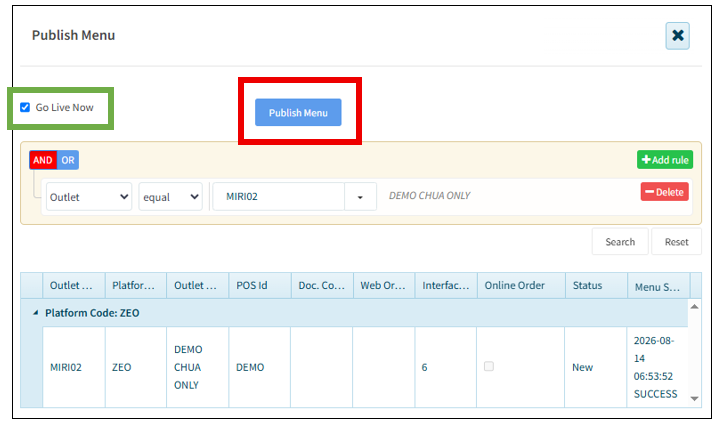
13-It will appear this [Publish Menu] page.
Kindly check tick the [Go Live Now]at the left side, the green box,
then [Publish Menu] at the center.
14-Make sure is the correct Platform to do so. Click [Yes] if is confirmed.
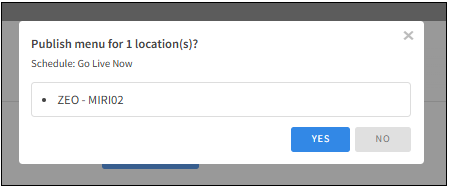
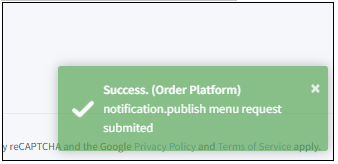
15-After that, you may see a notification from the bottom right
pop out.
This means the request summited, pending system uploading images.
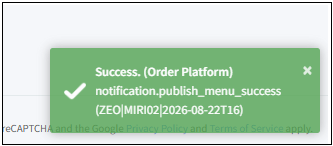
16-When you see this notification pop out at the bottom right,
means the menu is successful published.
The images will be appears in the
E-order webpage.
17-This is how it looks in e-order webpage.